Windows 11 に gcloud CLI を導入する
概要
- Google Cloud Platform のお勉強をしはじめた。
- Chrome 上で Cloud Shell を使ってもいいのだが、手元で叩けたほうが便利かもと思ったので gcloud CLI を Windows 11 に導入してみる。
参照したリファレンス
作業ログ
インストール
PowerShell を立ち上げ、以下を実行。
(New-Object Net.WebClient).DownloadFile("https://dl.google.com/dl/cloudsdk/channels/rapid/GoogleCloudSDKInstaller.exe", "$env:Temp\GoogleCloudSDKInstaller.exe")

& $env:Temp\GoogleCloudSDKInstaller.exe
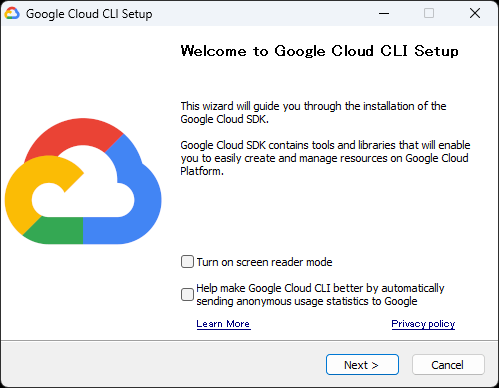
セットアップウィザードが立ち上がるので [Next] で進めていく。
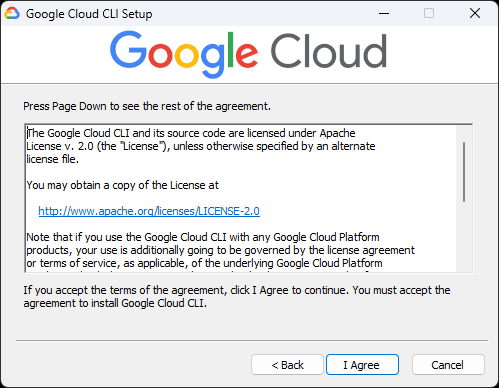
規約に同意する。
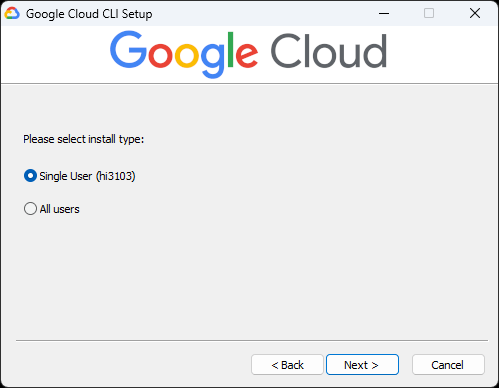
インストールするユーザーを現在のユーザーにのみに指定。
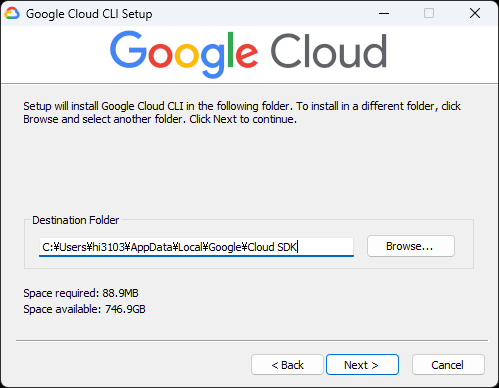
インストール先 C:\Users\ユーザー名\AppData\Local\Google\Cloud SDK を指定。
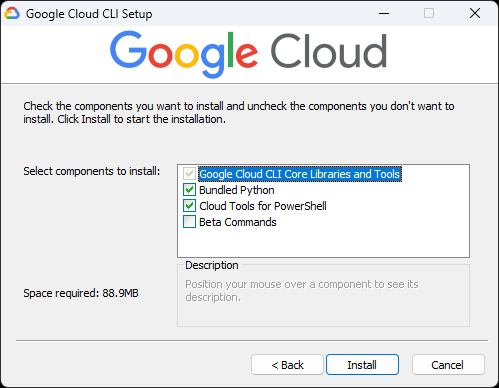
インストールするものを選択。今回は Beta Commands 以外(以下3項目)にチェックが入った状態で [Install] を実行しとく。
- Google Cloud CLI Core Libraries and Tools
- Bundled Python
- Cloud Tools for PowerShell
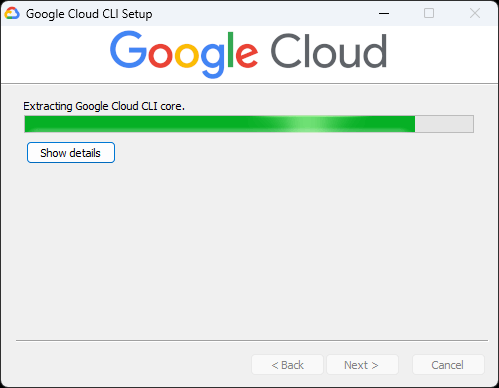
インストール進行中…
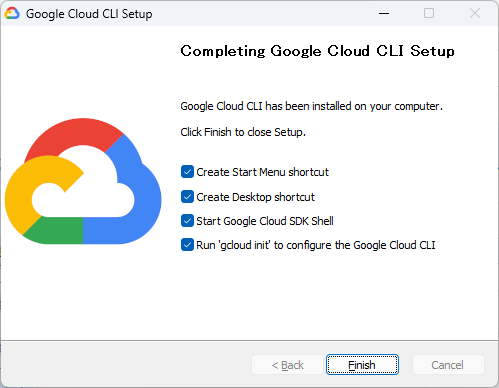
完了。以下すべてにチェックが入った状態で [Finish] してみる。
- Create Start Menu shortcut
- Create Desktop shortcut
- Start Google Cloud SDK Shell
- Run ‘gcloud init’ to configure the Google Cloud CLI
初期設定
自動で gcloud init が実行される。コマンドプロンプトが立ち上がった。
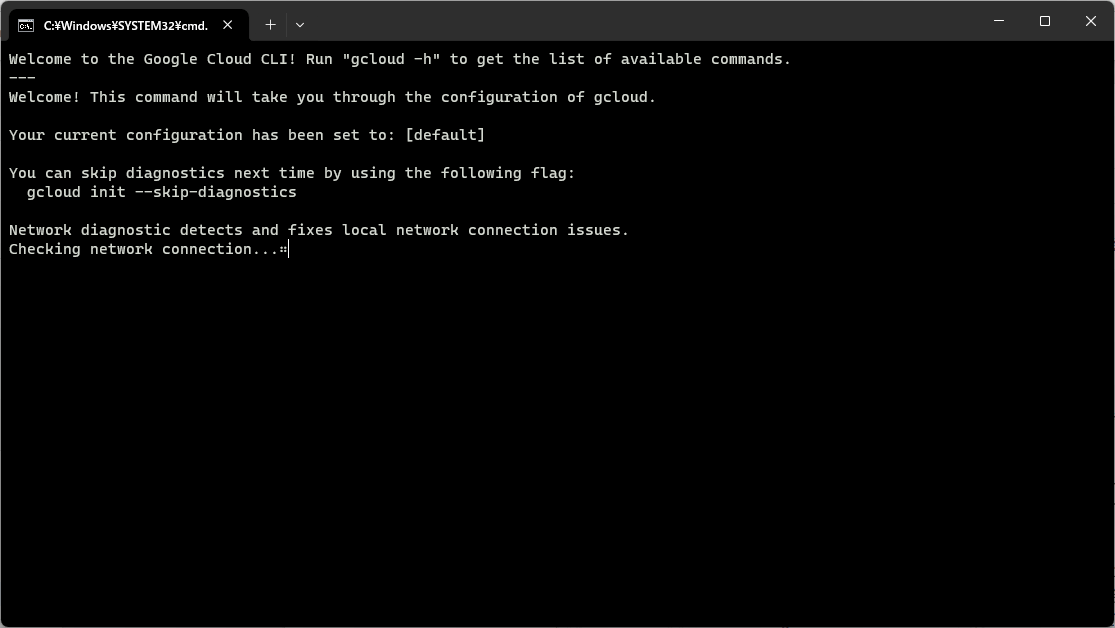
指示に従って Y 入力。
Welcome to the Google Cloud CLI! Run "gcloud -h" to get the list of available commands.
---
Welcome! This command will take you through the configuration of gcloud.

Your current configuration has been set to: [default]

You can skip diagnostics next time by using the following flag:
  gcloud init --skip-diagnostics

Network diagnostic detects and fixes local network connection issues.
Checking network connection...done.
Reachability Check passed.
Network diagnostic passed (1/1 checks passed).

You must log in to continue. Would you like to log in (Y/n)?
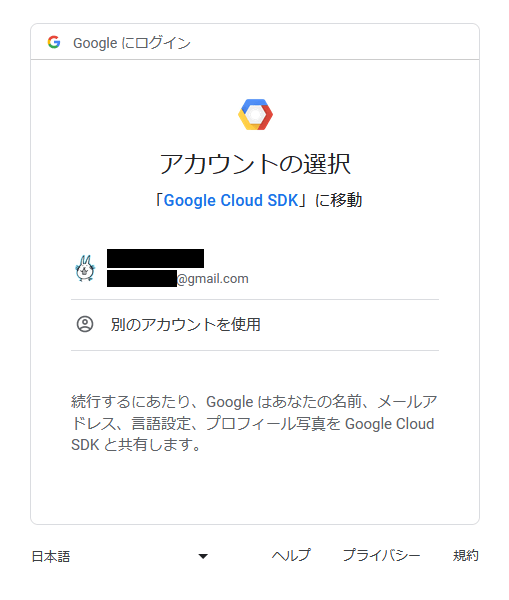
ブラウザが起動するので、承認する Google アカウントを選択。
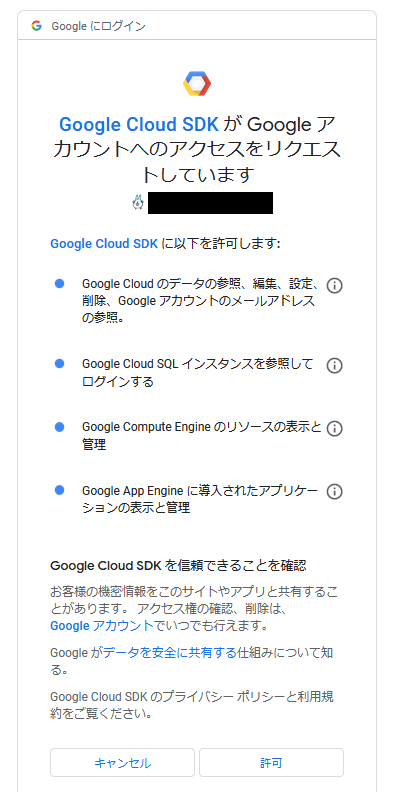
Google Cloud SDK のアクセスを承認。
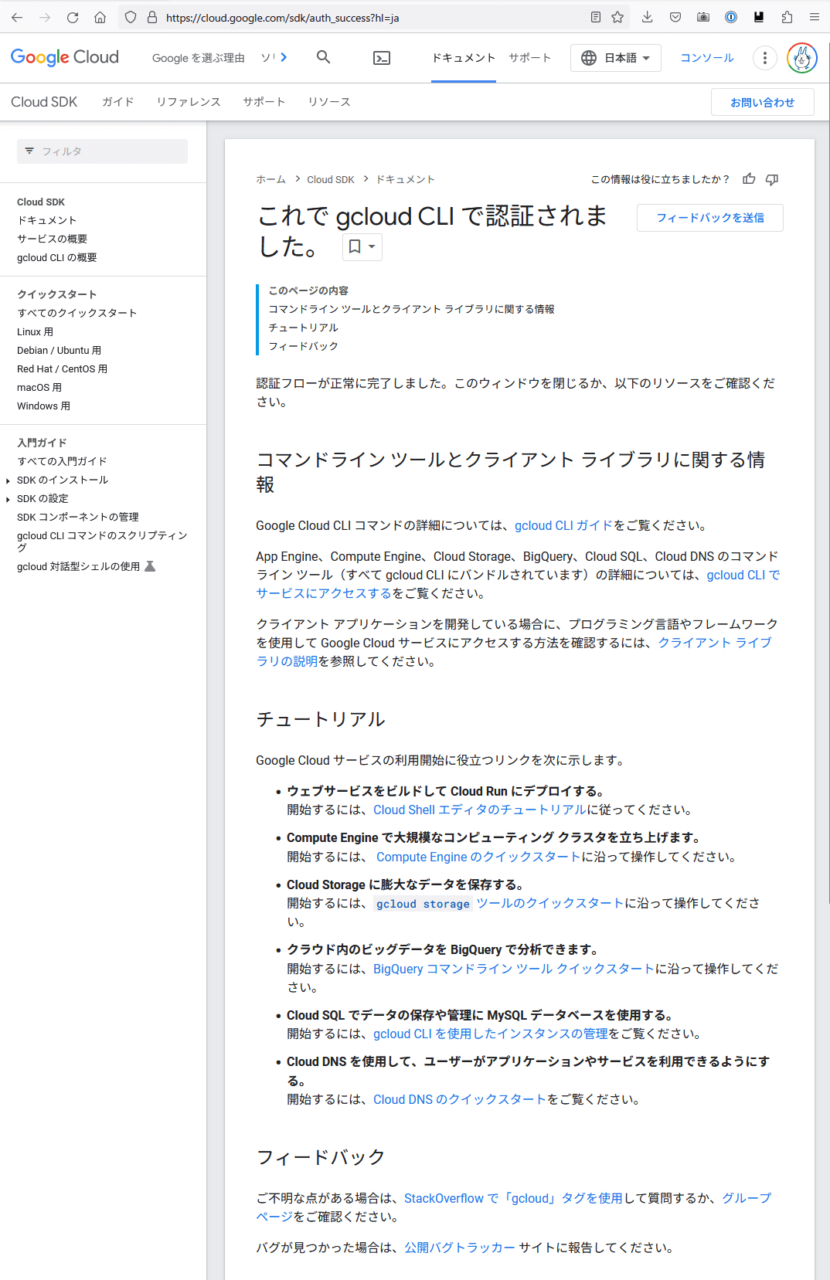
完了画面に遷移した。
コマンドプロンプトに戻り、プロジェクトを選択。
You are logged in as: [◯◯◯◯@gmail.com].

Pick cloud project to use:
 [1] 既存のプロジェクト その1
 [2] 既存のプロジェクト その2
 [3] Enter a project ID
 [4] Create a new project
Please enter numeric choice or text value (must exactly match list item):  2

Your current project has been set to: [既存のプロジェクト その2].
デフォルトのリージョン/ゾーンを東京 asia-northeast1-b にしておく
Do you want to configure a default Compute Region and Zone? (Y/n)?  Y

Which Google Compute Engine zone would you like to use as project default?
If you do not specify a zone via a command line flag while working with Compute Engine resources, the default is
assumed.
 [1] us-east1-b
 [2] us-east1-c
 [3] us-east1-d
 [4] us-east4-c
 [5] us-east4-b
 [6] us-east4-a
 [7] us-central1-c
 [8] us-central1-a
 [9] us-central1-f
 [10] us-central1-b
 [11] us-west1-b
 [12] us-west1-c
 [13] us-west1-a
 [14] europe-west4-a
 [15] europe-west4-b
 [16] europe-west4-c
 [17] europe-west1-b
 [18] europe-west1-d
 [19] europe-west1-c
 [20] europe-west3-c
 [21] europe-west3-a
 [22] europe-west3-b
 [23] europe-west2-c
 [24] europe-west2-b
 [25] europe-west2-a
 [26] asia-east1-b
 [27] asia-east1-a
 [28] asia-east1-c
 [29] asia-southeast1-b
 [30] asia-southeast1-a
 [31] asia-southeast1-c
 [32] asia-northeast1-b
 [33] asia-northeast1-c
 [34] asia-northeast1-a
 [35] asia-south1-c
 [36] asia-south1-b
 [37] asia-south1-a
 [38] australia-southeast1-b
 [39] australia-southeast1-c
 [40] australia-southeast1-a
 [41] southamerica-east1-b
 [42] southamerica-east1-c
 [43] southamerica-east1-a
 [44] asia-east2-a
 [45] asia-east2-b
 [46] asia-east2-c
 [47] asia-northeast2-a
 [48] asia-northeast2-b
 [49] asia-northeast2-c
 [50] asia-northeast3-a
Did not print [69] options.
Too many options [119]. Enter "list" at prompt to print choices fully.
Please enter numeric choice or text value (must exactly match list item):  29
準備完了。デフォルトはこんな設定になったで~と表示されるので確認しておく。
- config ファイルは以下に生成されているらしい
C:\Users\ユーザー名\.boto
- config の設定については以下を参照
gcloud help config
- gcloud コマンドのヘルプは以下を参照
gcloud --help
コマンドプロンプトを閉じる。
PowerShell で gcloud コマンドを使う
バージョン確認
まずは以下を実行し、glocud コマンドが動くか確認。
gcloud --versionちゃんと表示されるので問題なし。
Google Cloud SDK 454.0.0
bq 2.0.98
core 2023.11.03
gcloud-crc32c 1.0.0
gsutil 5.27
作成済み VM インスタンスへ SSH で接続
管理画面からコマンドをコピペし、PowerShell 上で実行する。
gcloud compute ssh --zone "ゾーン名" "インスタンス名" --project "プロジェクトID"PuTTY のウィンドウが立ち上がり、VM インスタンス上の操作ができるようになった。
